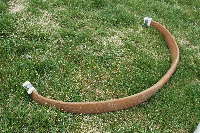
Here is a main gear arrived with the kit. It is VERY rough as heavy cloth was used in the layup and it has some sharp edges on it. It's a heavy part too. I'm guessing it weighs about 30 lbs. and is made of S-Glass.
In early January, 2008 a jig was made which would support our gear so that the mounting tabs could be made on the strut. We then built a table so that the gear could be angled per the plans.
Chapter 15, Pg. 6 tells you to cut cut 18" strips of Triax for the "Attach Tabs." Since you need 32 strips for the outside and 32 strips for the inside, you are tempted to assume that you need 64 of the 18" strips. Don't make this mistake! The inside Triax strips need to be shorter; make them 12" lengths instead of 18. Learn from our mistakes as we ended up wasting a lot of S-glass in cutting our 18" strips down to 12". You'll save epoxy too, so don't mix as much as you used for the outside tab layup.
Another side note. When you compress this much glass and epoxy, expect a lot of epoxy to ooze out. So, make sure that the runoff won't mess up your project. Be sure to come back every few minute to tighten your clamps. Also, be sure to keep the compression blocks square as you tighten down the clamps.
After the epoxy cures, it's time to remove the mold. The manual hints at just how difficult this is when they tell you to "Break away the jig." This is an understatement! You're in for a workout. Remember all that epoxy that was oozing out as you compressed things? You now get to test your epoxy's strength! We used a hammer and chisel to break away the larger pieces. Finer work was done by the Fein Multimaster. Another side note, the Multimaster is a *Must Have* tool if you're working on a composite airplane. We use the HSS segment Blade for most fiberglass cutting, and the E-cut bi-metal blade for plunge work.
When laying up the inside layers, the manual tells you to compress the sides, but fails to tell you to make sure the center glass is compressed. We recommend you do so. Otherwise, you will be cutting through it when you bore your 3/4" hole through the tabs. We did not compress ours and ended up with about 3/8" of cut through our center glass.
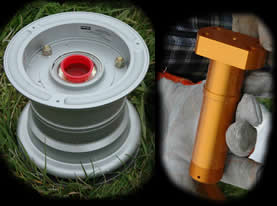
March 2, 2008 - We bored our tab hole with a Dewalt 3/4 inch hole saw (see part number on picture at left). We looked at other brand name hole-saws, but none were of the quality (roundness and cleanness of welds) of the Dewalt.
Once you buy the hole saw, you're going to need a long 1/4" drill bit. We purchased a 12" bit and found this to be adequate. We used a Dewalt 18v hammer drill to bore the hole and found the hammer function helped us cut and kept the hole cool. We found that cutting about 3/8" and then pry/breaking the plug out worked best at keeping things cool and gum free. Your mileage may vary.
 When you're ready to start cutting your tabs down to size, we recommend that you get a good Fein HSS Blade. After rough cutting with the Fein, we cleaned everything up with a good rasp. The one side of our rasp had a half round which worked out real nice for fillet work. This looks like a 15 minute job. Let us assure you that it's more like a two to three hour job; those thick layers of triax don't cut or sand easily.
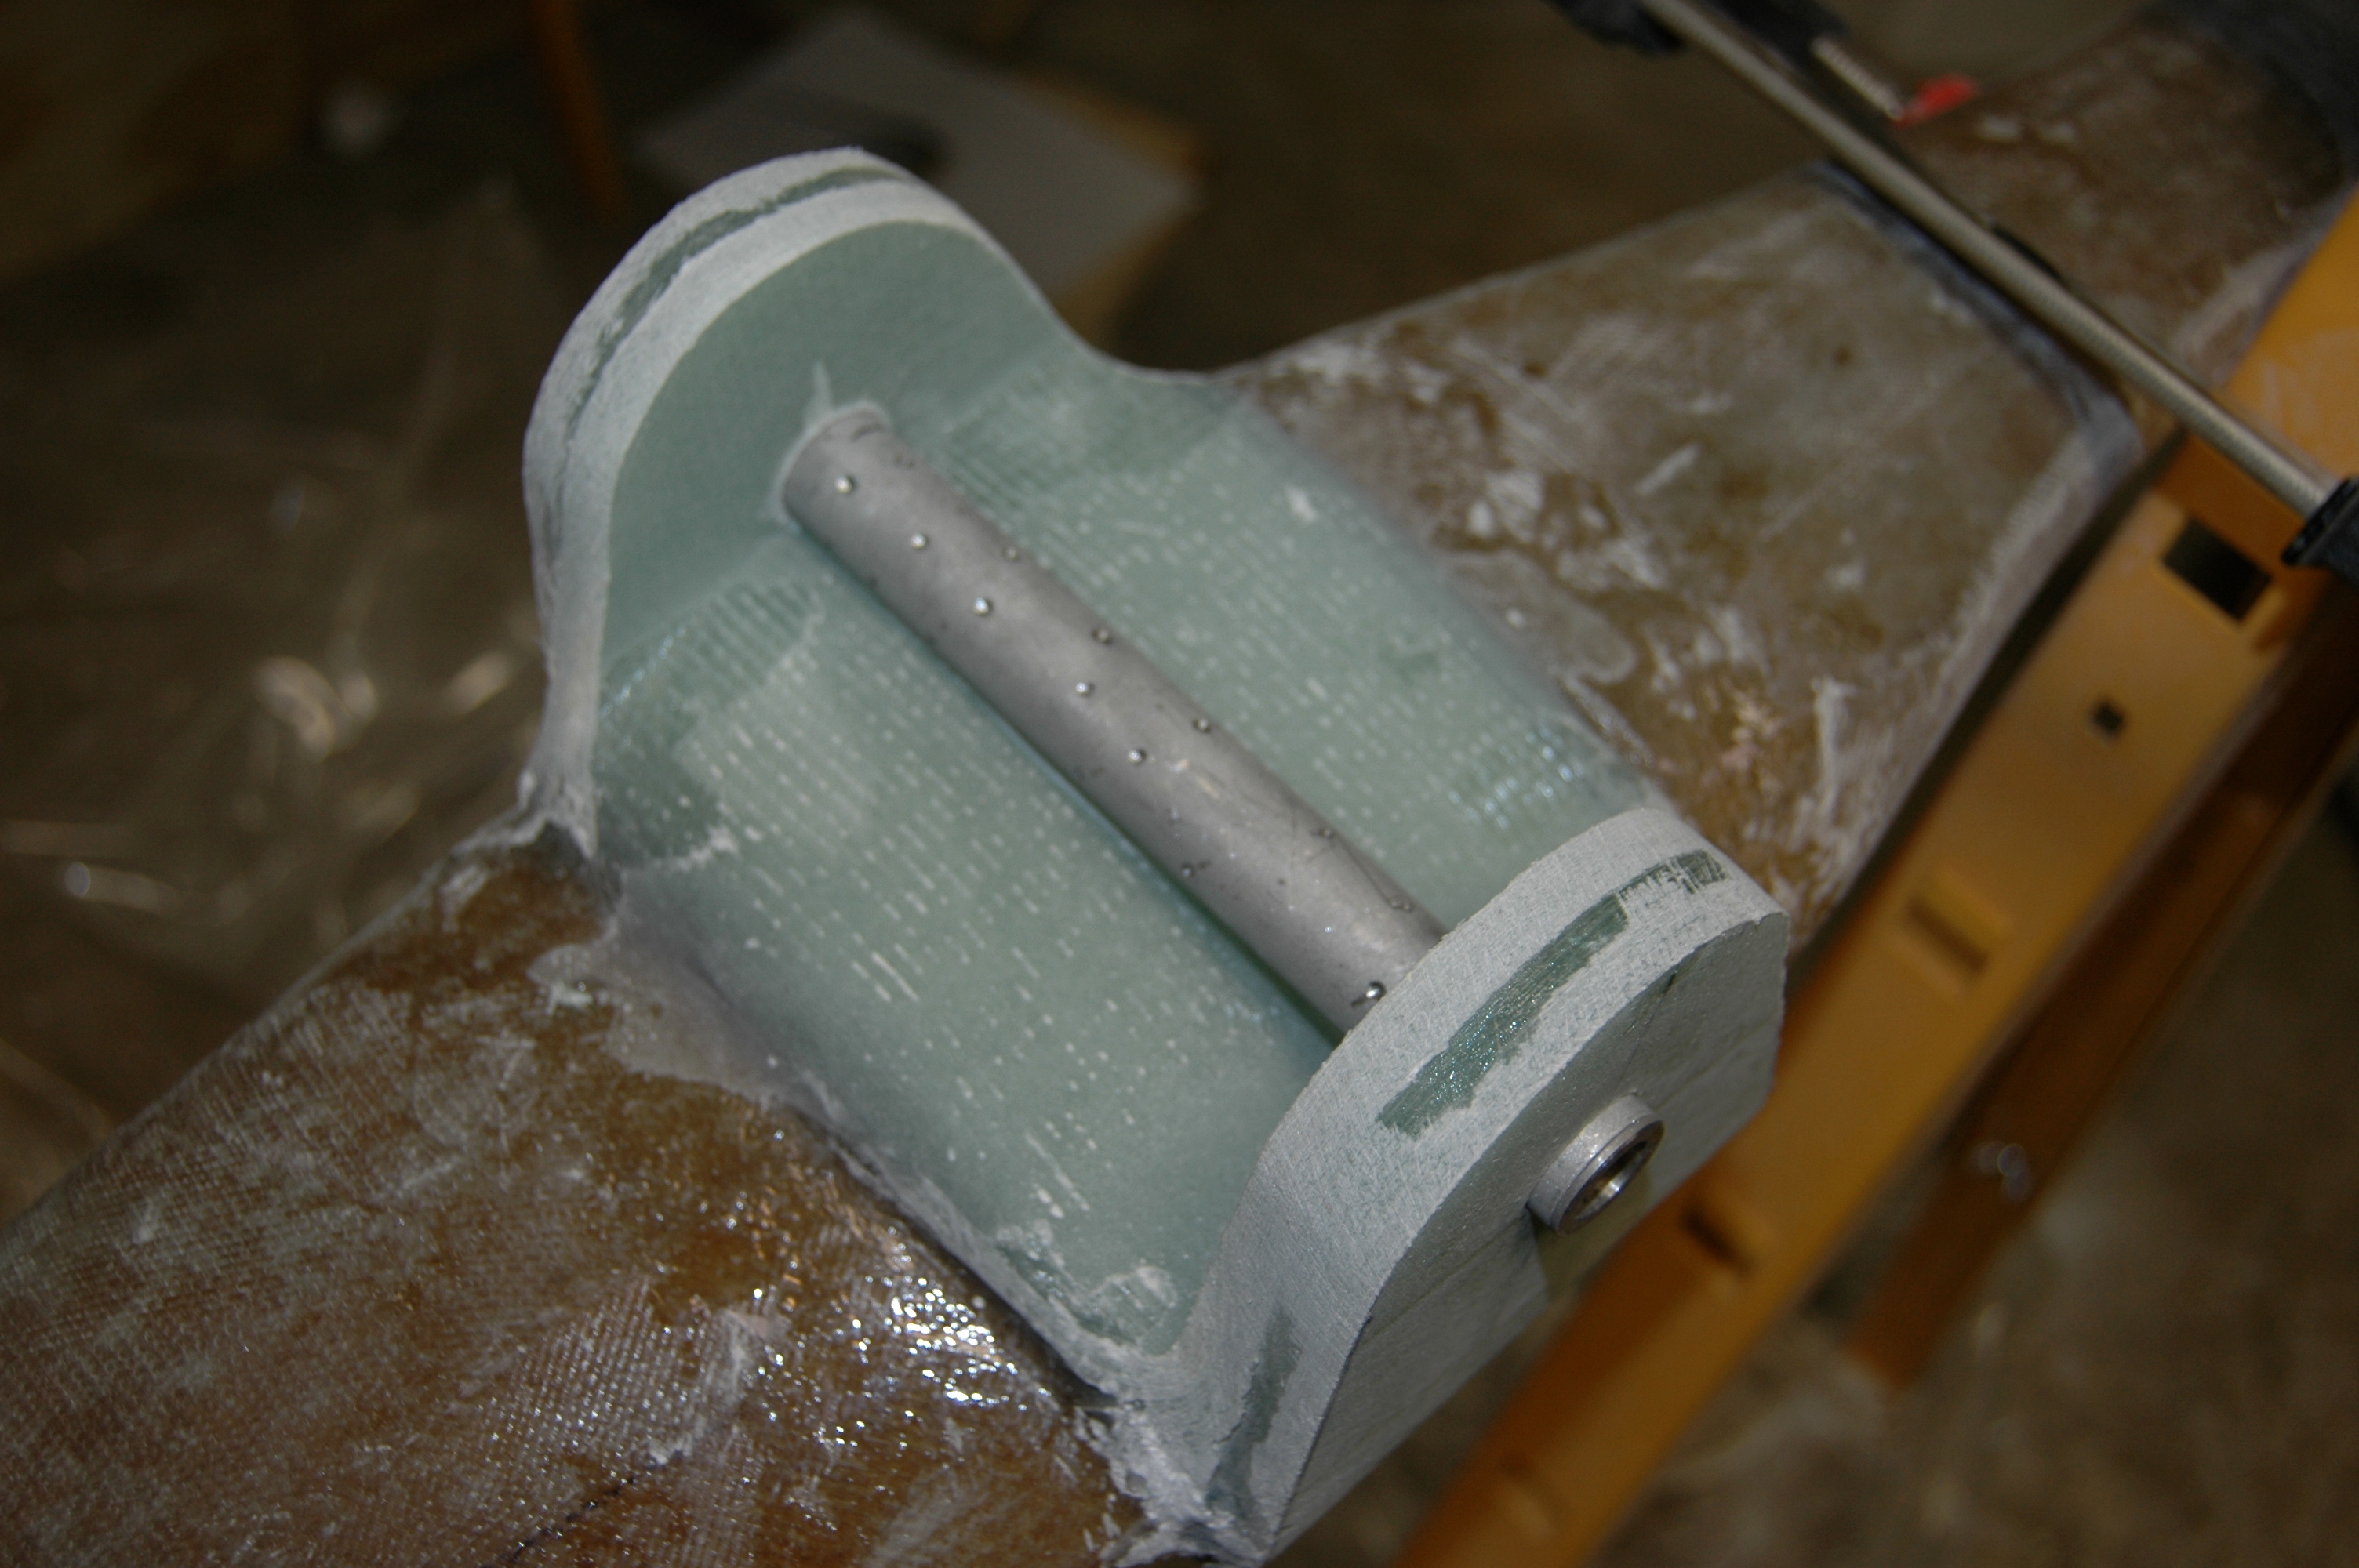
After the tabs were shaped and cleaned up. The two MKMGA sleeves were media blasted and then dimpled as per the manual on 15:9. Parts were test fit and are now ready to be cleaned and floxed in place.

| Fairing the gear | It has been noted that the gear is mounted at an angle of incidence relative to the slipstream. See http://www.maddyhome.com/canardpages/pages/waynicks/chapter_09_6.htm |
|
| What Brakes? | The Aerocanard shipped with Cleveland heavy duty breaks. We're thinking of switching to Grove. This opinion is based solely on discussions in the Cozy & Canard forums. | |