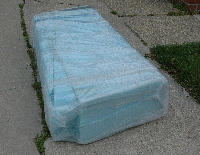
LEFT— Here are the fins as they arrived with the kit. The foam has been hot wired and wrapped in bubble-wrap for safe transport..
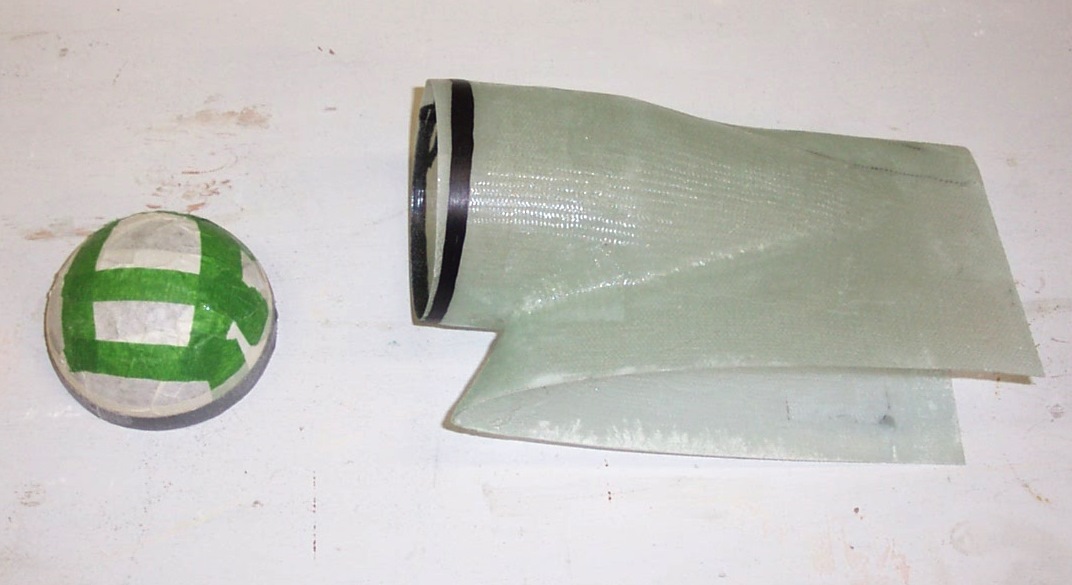
Construction on the fins started 8/17/07. 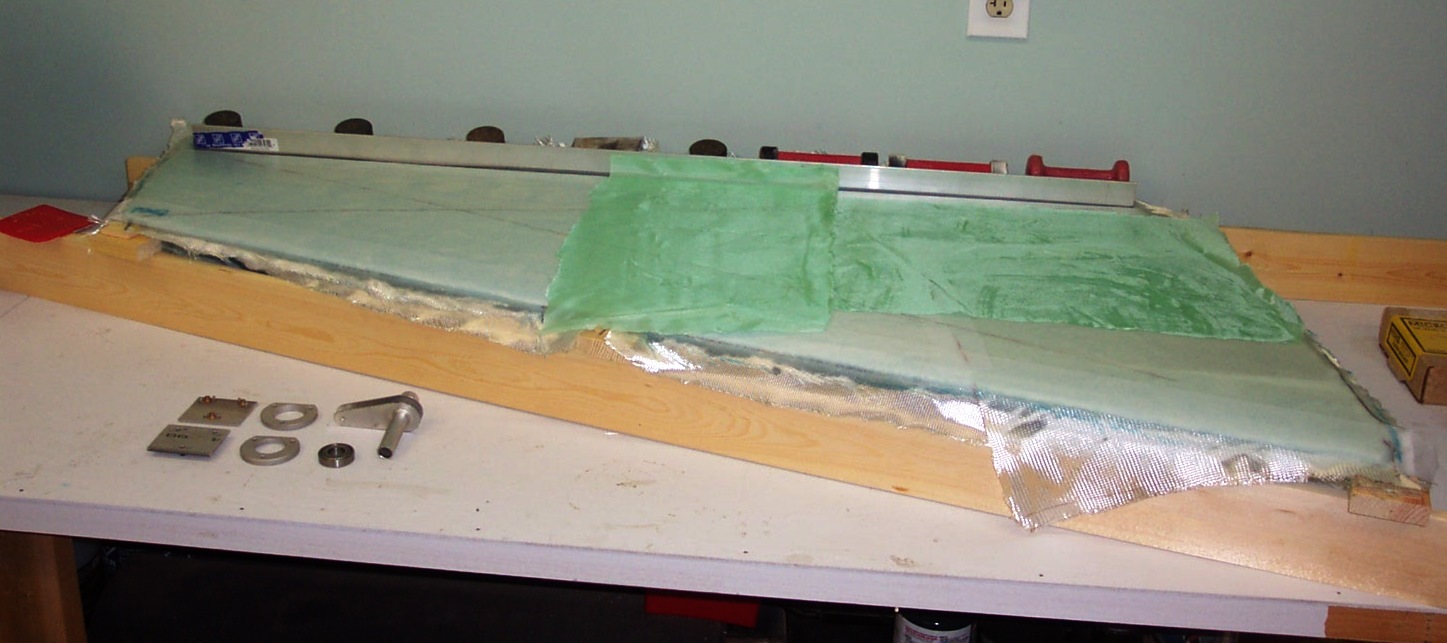 Our cores were so warped that Rob made jigs for the layup process as they were glassed. One layer of BID was laid out on Sunday. Two additional layers were done Monday evening; the last being a small reinforcement piece near the attach point. Here is how the fin looked at the end of Monday night.
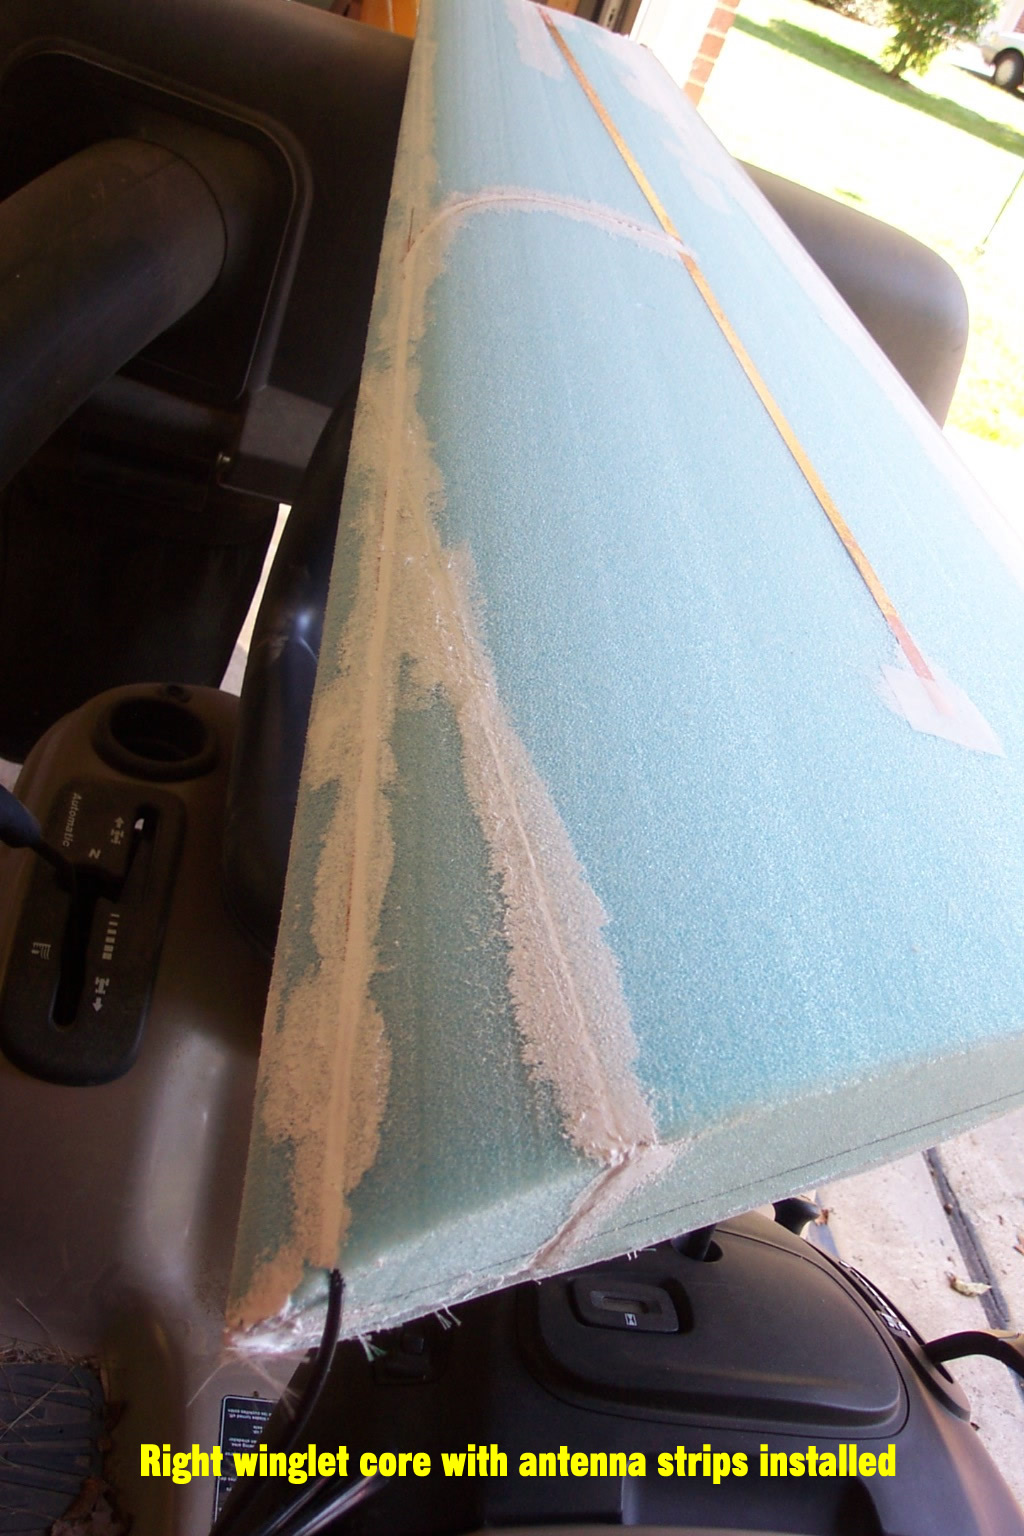
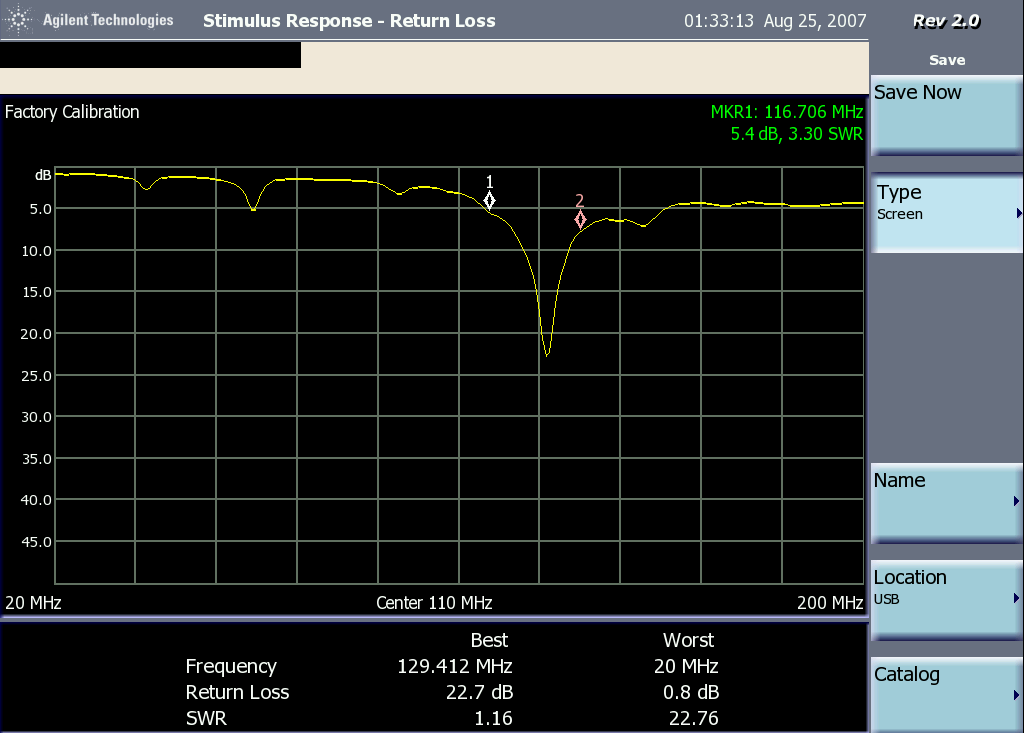
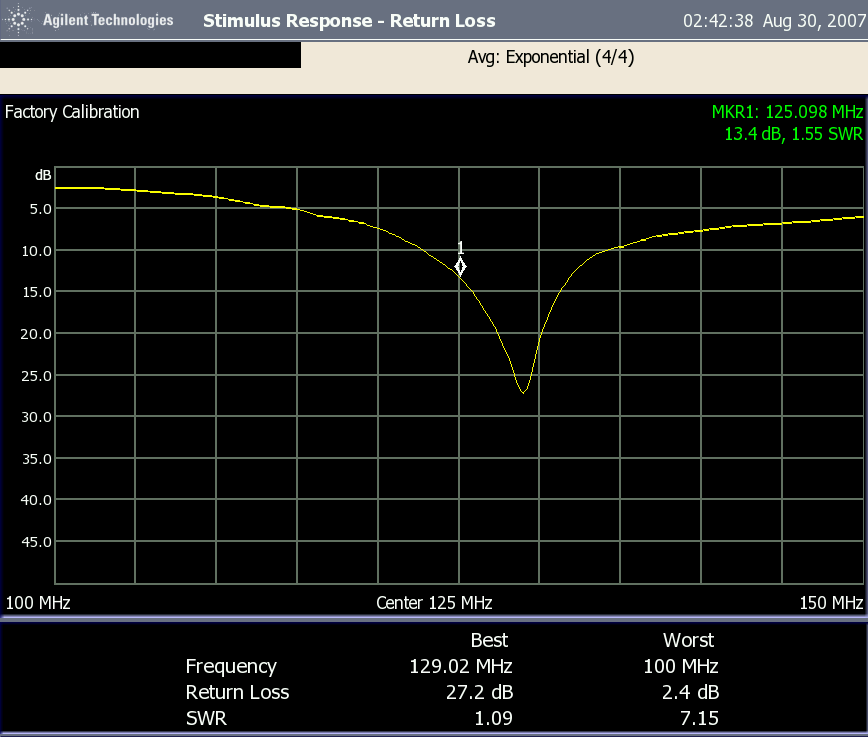
One of the first issues to be resolved was antennas in the winglets. Since fiberglass doesn't affect antenna performance and there was no metal around that would act as a ground plane, antenna setup up should be easy. Our antennas were constructed with copper foil strips and then the SWR's were tested for each winglet. Screen shots were made of these tests. See below.
 |
 |
 |
 |
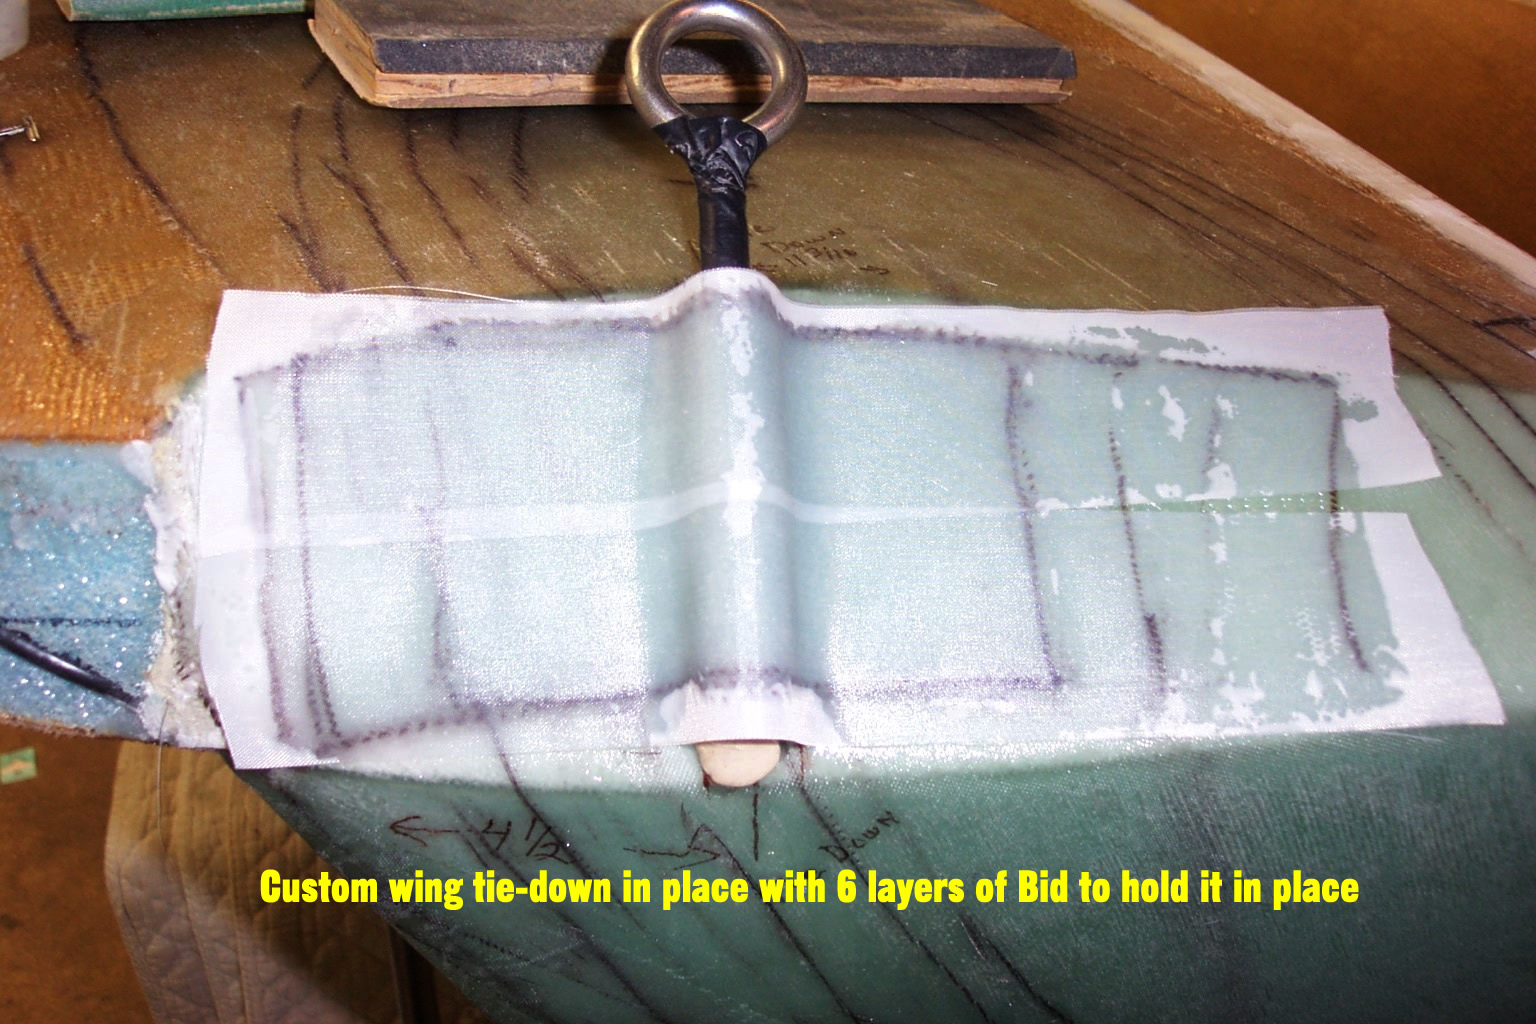
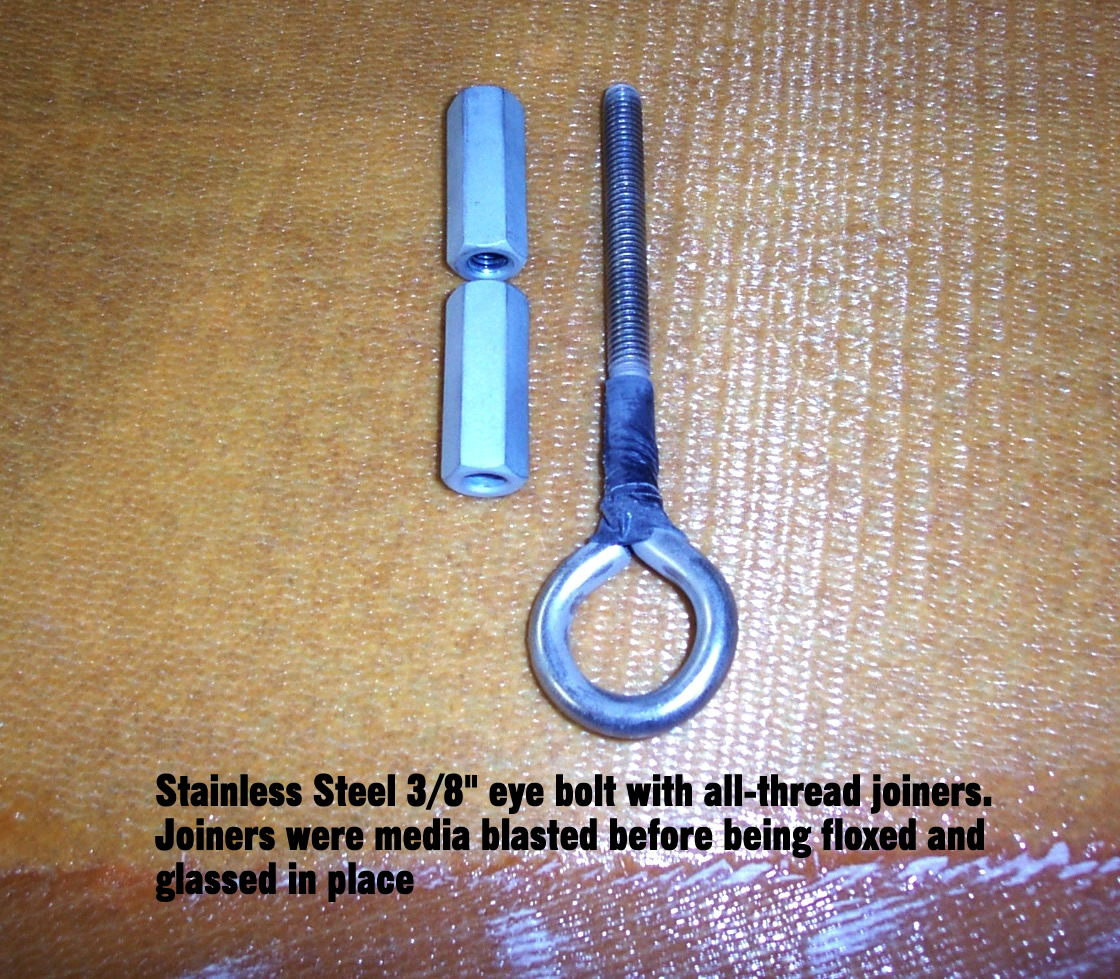
As noted in our "Ideas" section at the lower part of this page, we wanted some means to tie our bird down when it was parked outdoors overnight on some cross-country trip. While at Oshkosh 2007, it was noted that a number of builders opted for the Hole-through-the-wing approach. We didn't like the idea of drilling a hole in our wing. Besides, it looked tacky! However, there was one plane that had an easy solution that we just couldn't resist copying. The hardware was simple and the installation in the lower winglets was simple.
 |
 |
To view all the pictures taken of the winglet construction and mounting, as of 09/17/2007 click HERE
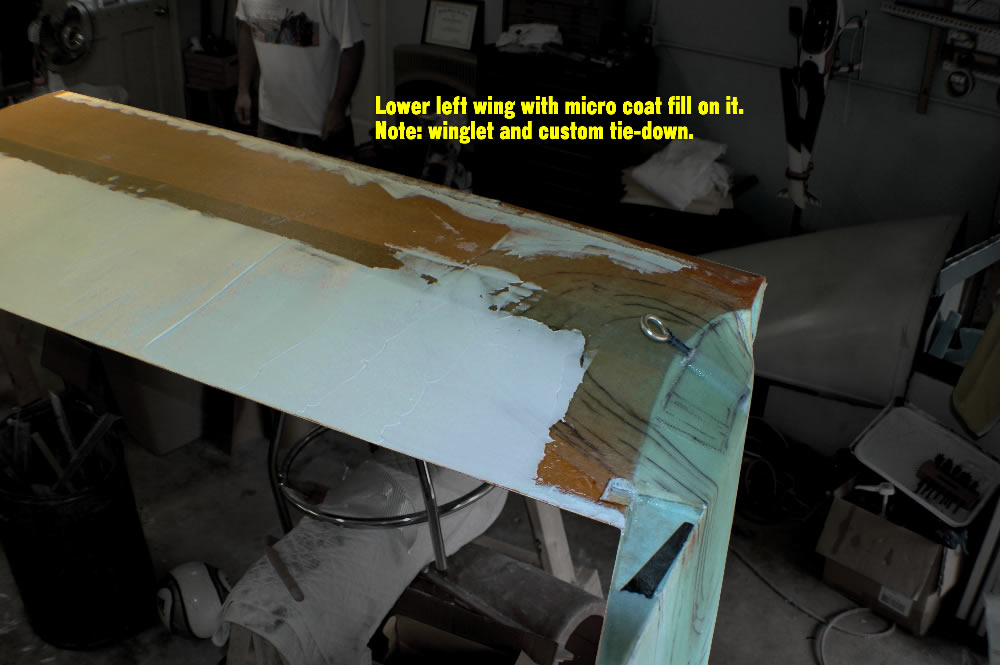 Right— Here's how the winglet looked as of 9/28/2007. Note the custom tie-down and the micro fill on the lower surface of the wing. Yep, the hard part is about to begin: All that sanding!
Speaking of sanding, we've made a few blocks about 48" x 4" that we're using to sand these larger surfaces. For the fin, we found out that about 30" is the ideal length for the block. We're starting with either 24 or 50 grit depending how much micro we figure we're going to be taking off.
Camera installation
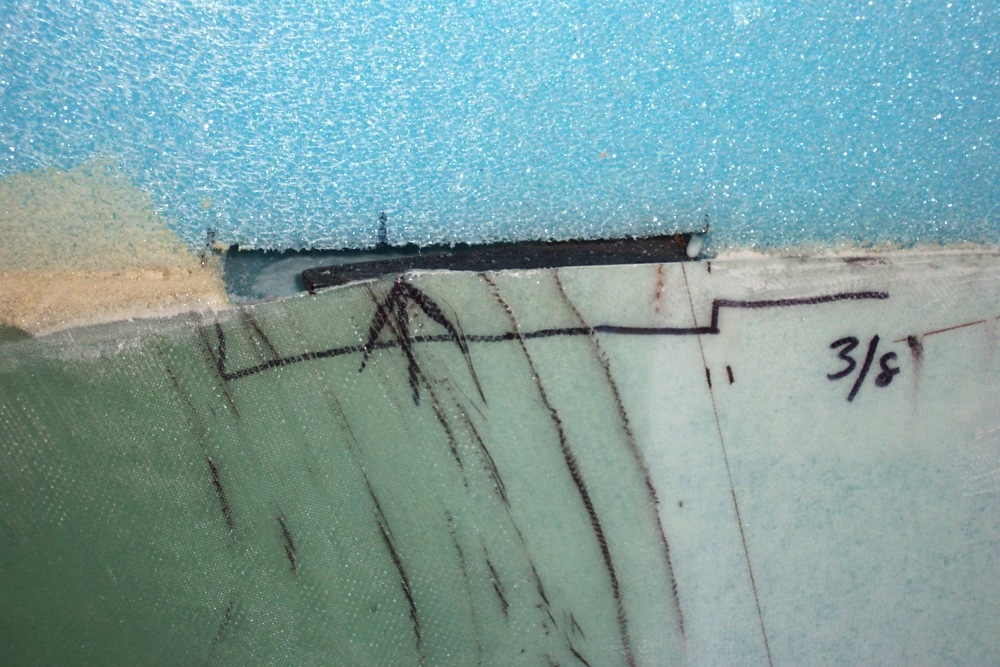
We knew from the beginning that we wanted some type of video system so that we could record our adventures once the plane was finished. With cameras so small and cheap, we also decided that we we wanted to have a few cameras so that we could look the plane over in flight. We mounted two small ones in one of the right lower winglet section These small cameras will be permanently set to static views. One will be set for view of the engine area and the other for the nose area so we can check out the gear position, etc. The second and third picture in this sequence shows the clearance for our hidden horn that will move our rudder.
 |
 |
 |
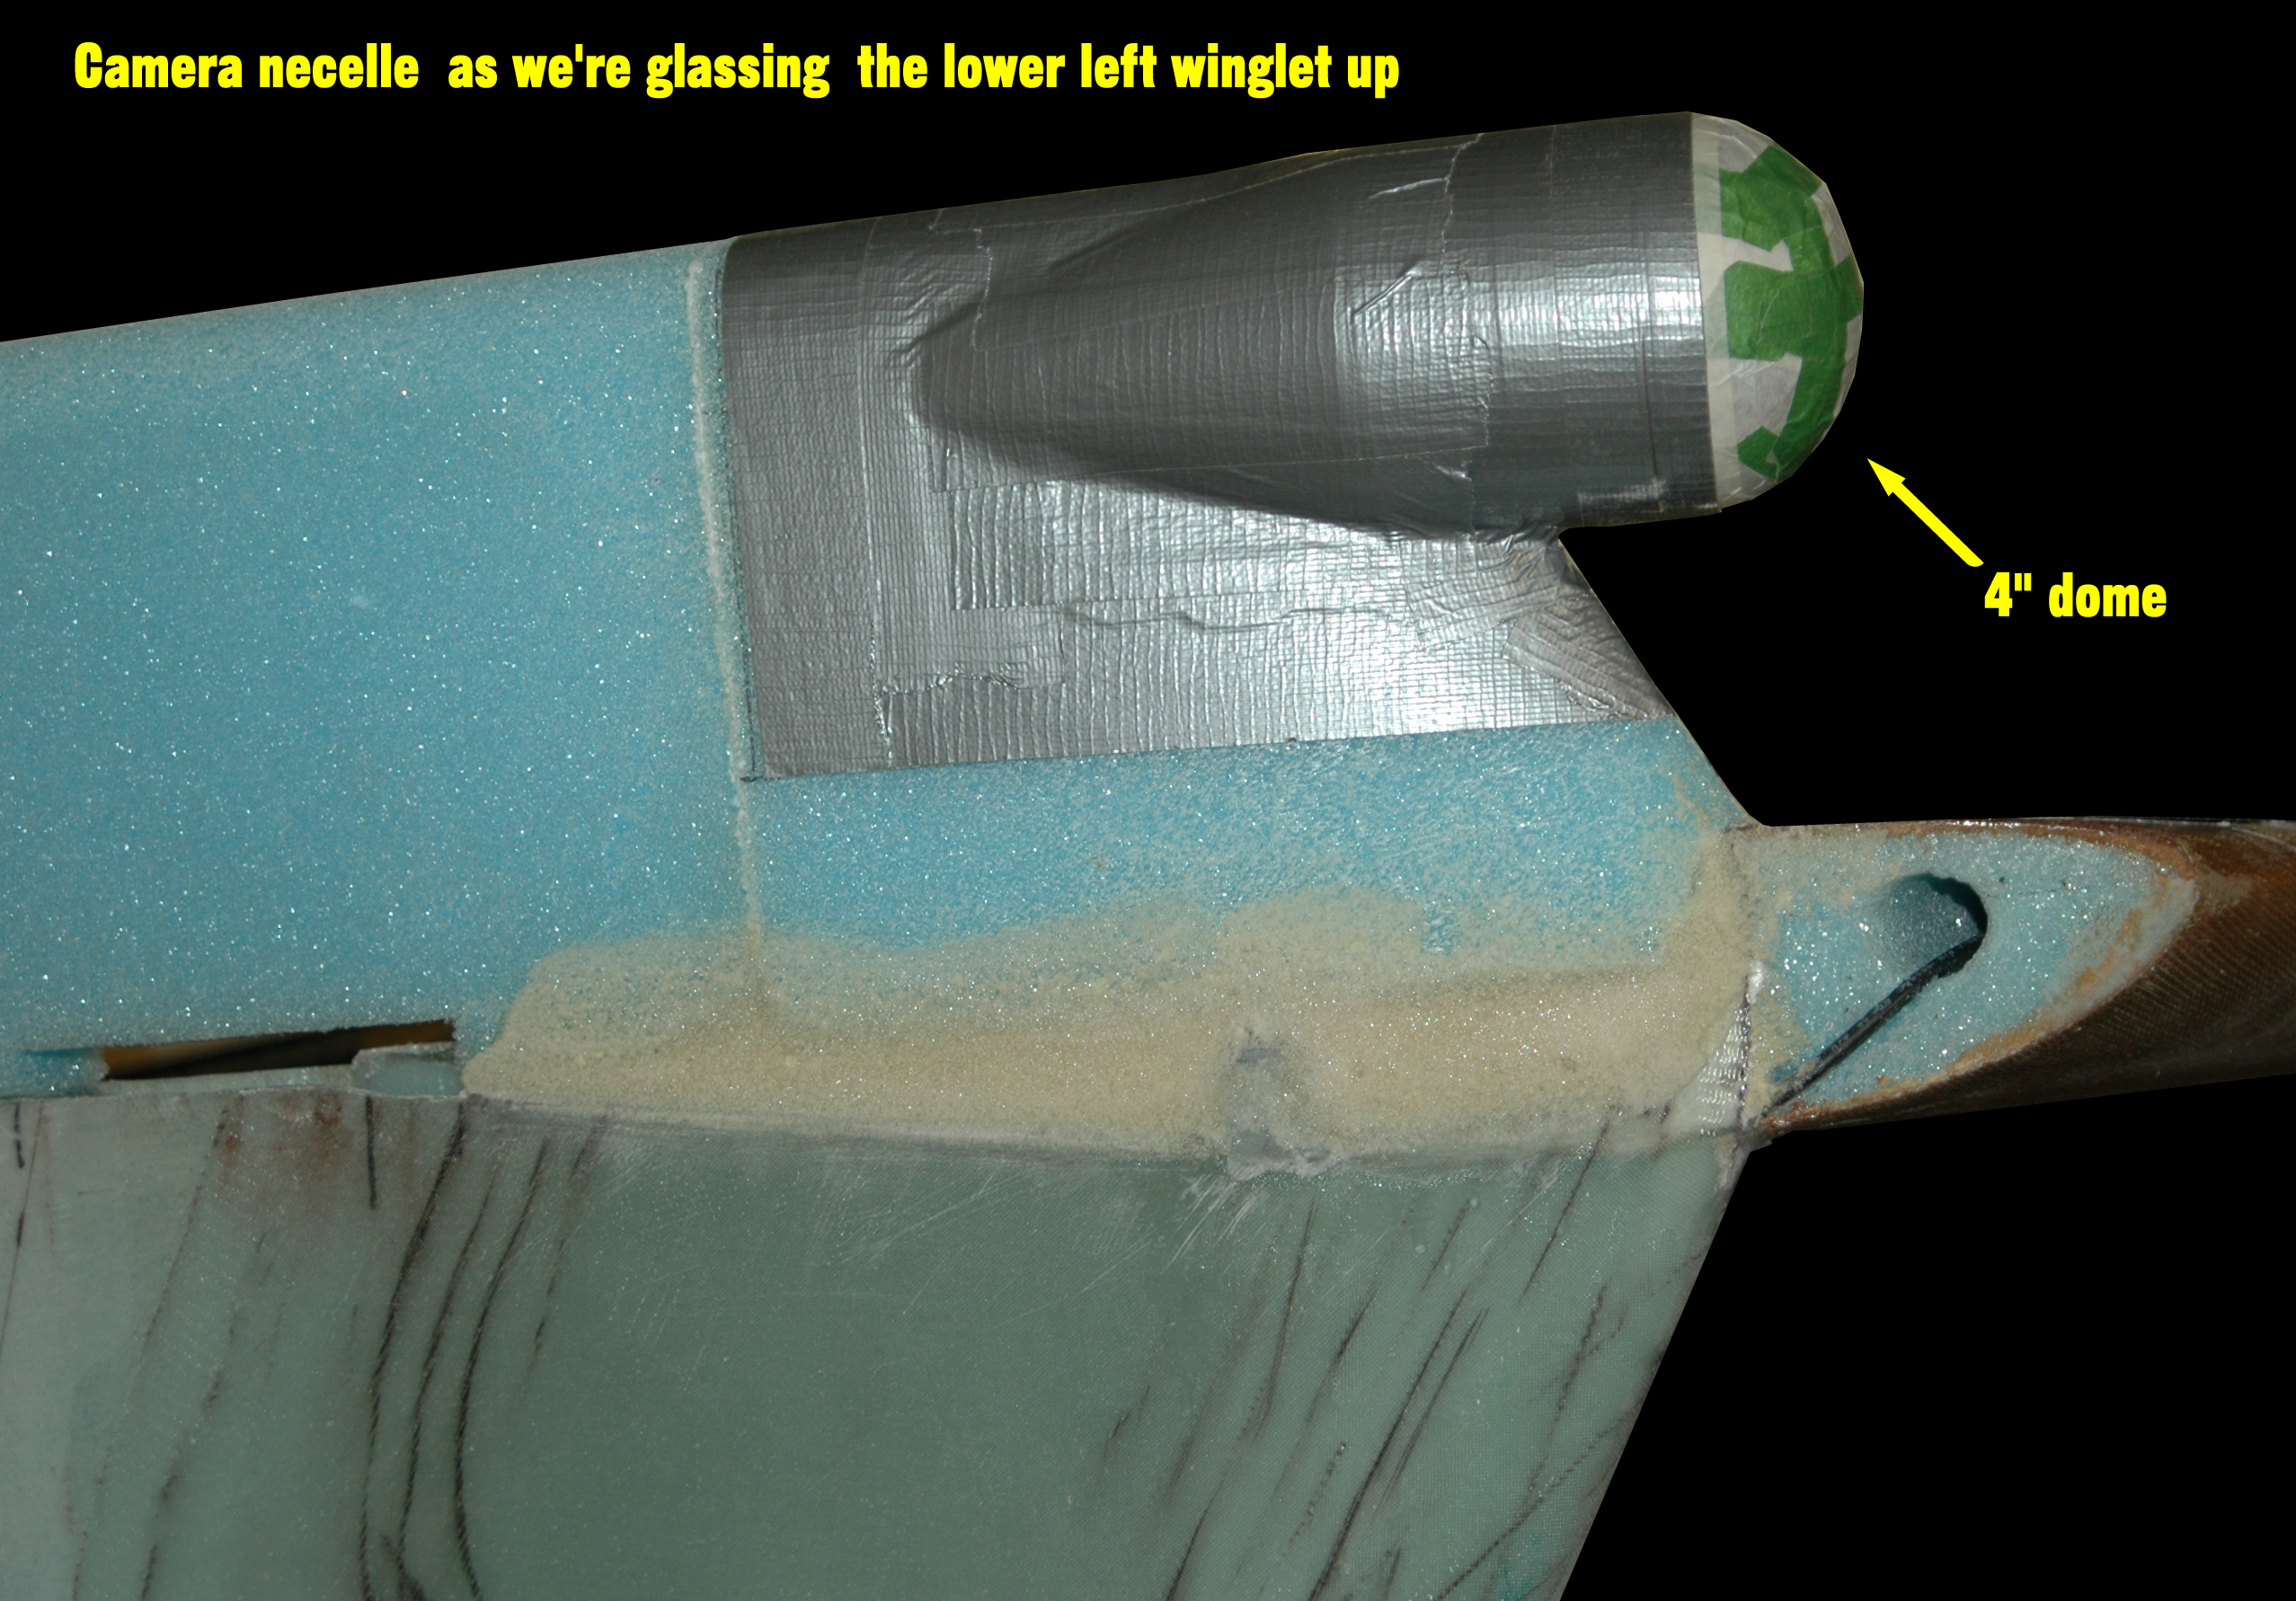
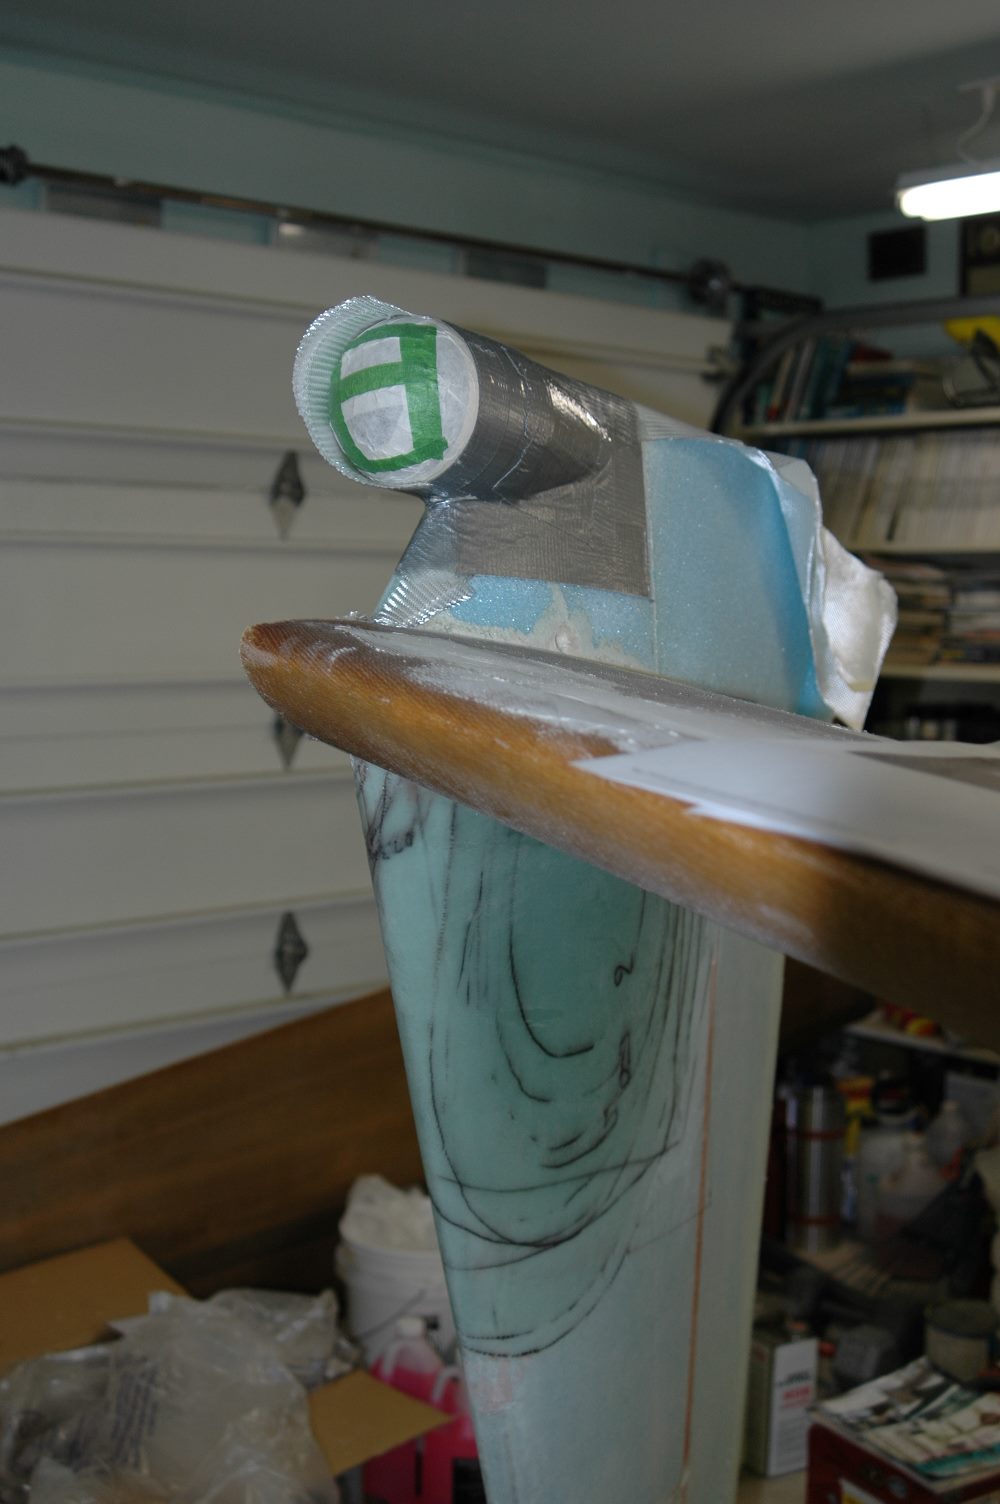
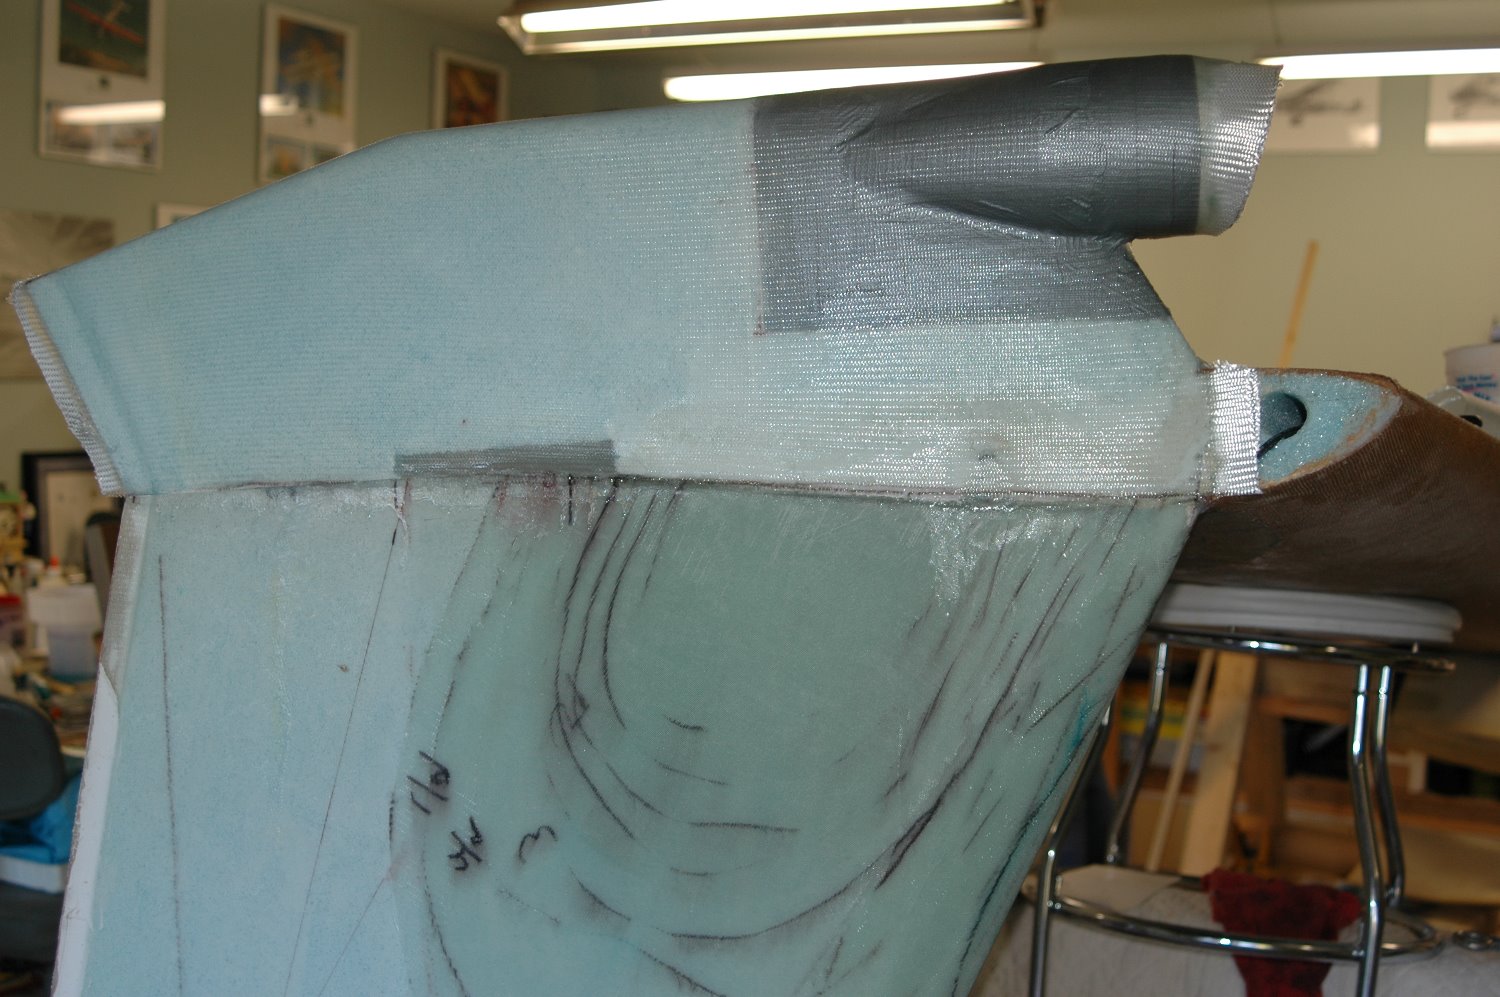
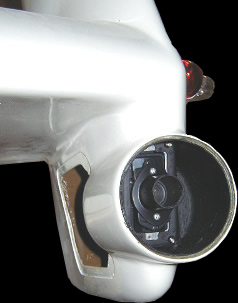
For the larger bullet camera, we built a housing on the lower left winglet. Our example for this installation was the detialed instructions as found on the Velocity site listed at the bottom of this page. We first purchased a 4" dome from GPSI (we had to purchase two as the cost was the same for one or two-- now we have a spare). Then it was time to use some foam and mold a housing for the camera and dome.
 |
 |
 |
Update: See the Blog for details of the current work.

| What antennas do we put in these things? | I'm a little bit confused with all the new electronics out there. What antennas do I need to have in place before we skin these things? |
|
| Video Camera in Winglet(s) |
The picture at the right was from this Velocity site: www.rguerra.com/velocity They have done some really nice stuff with their video install. Note that he has two links from his site for these cams. |
|
| Canvas Tarp attach points | Hidden attach points for a tarp system to cover the whole airplane when it is in the sun. | |
| Position lights | Do we want position lights on the winglets? We need the white lights mounted somewhere to face aft. Where do we put a beacon? We're looking real hard for affordable LED position lights. |
|
| Tie-Downs (Solved!) | 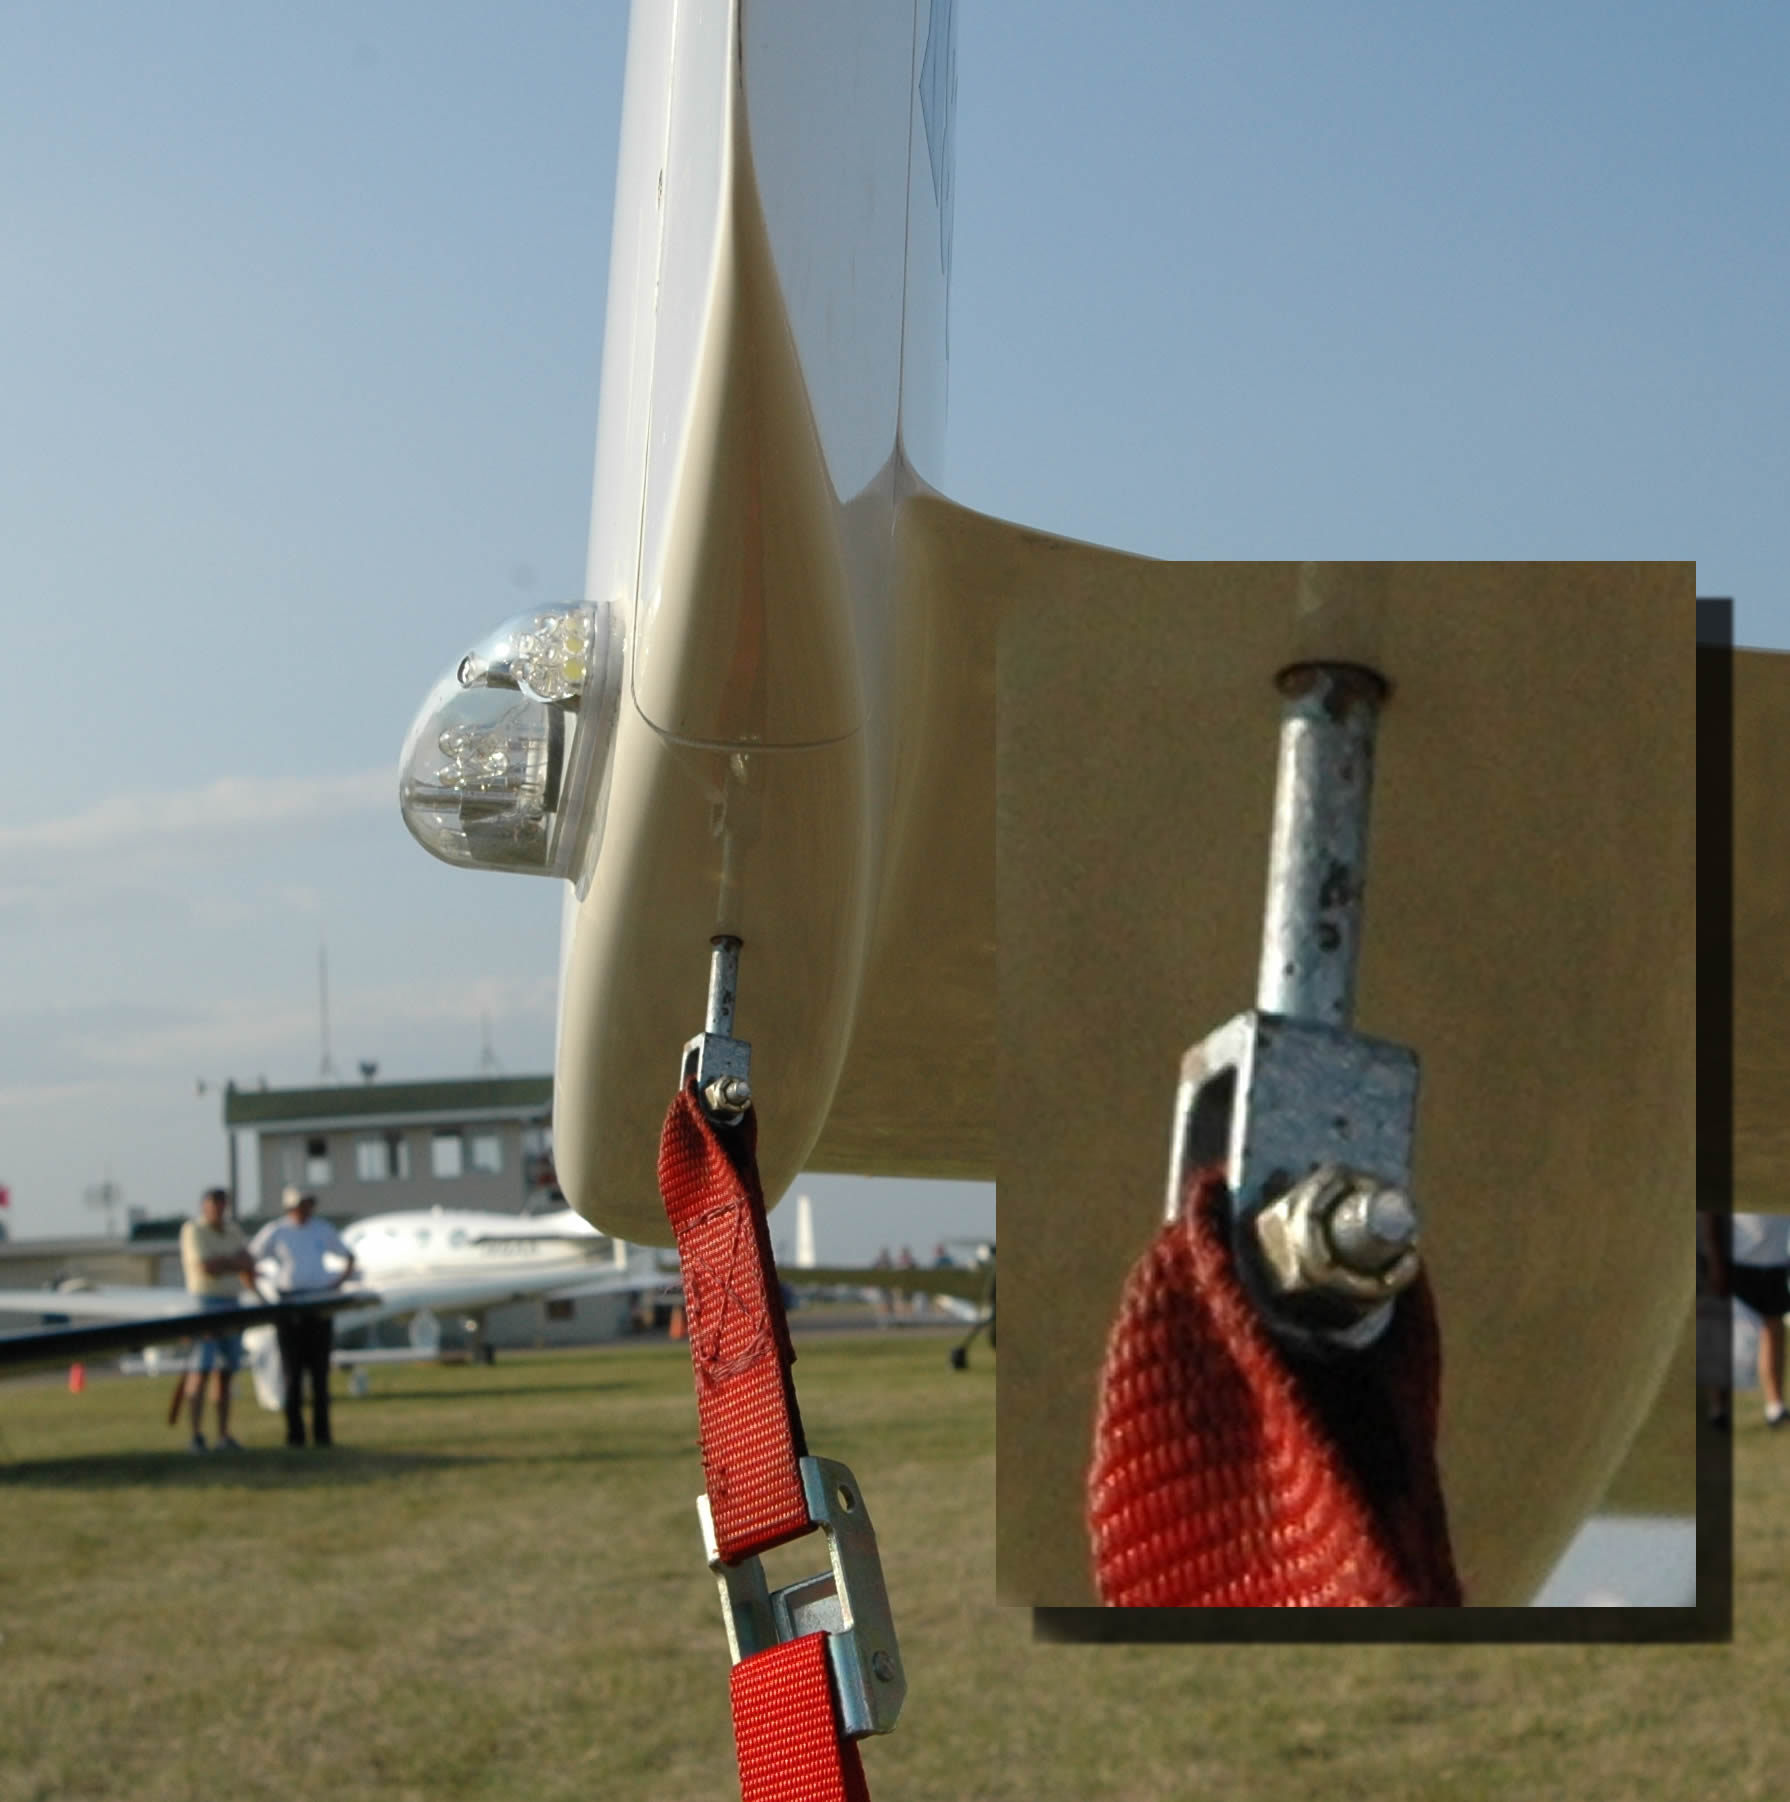 We're looking at a way to anchor the plane down when on the road. We're thinking about this method as seen on a plane at Oshkosh. Click on picture to see a better illustration. We're looking at a way to anchor the plane down when on the road. We're thinking about this method as seen on a plane at Oshkosh. Click on picture to see a better illustration. |
|
 We have our camera: